Showing posts with label Graphic 45. Show all posts

Wednesday, June 17, 2015

Mega Update - Part 1

Oh yes, it has been a while!  So I'll keep it to showing you pictures of anything I've made over the last few months! There is so much to show, that I'm going to break it down into at least two posts!

Ist Project of the Year!

My friend Marie Laurence told me that there is a belief out that if you create something on the first day of the year you have a good year. Who doesn't want a good year? Since I still had my Christmas stuff out, this was an easy project to make quickly on January 1st!


My Most Time Consuming Project Ever

You will see  more of this project created using the Time to Flourish collection from Graphic 45 in a separate post. It's been going on since late December and I'm hoping to finally finish it off this week or more likely early next week,  by mailing off the final kit to my dear friend Marielba.


Ist Layout Class of the Year

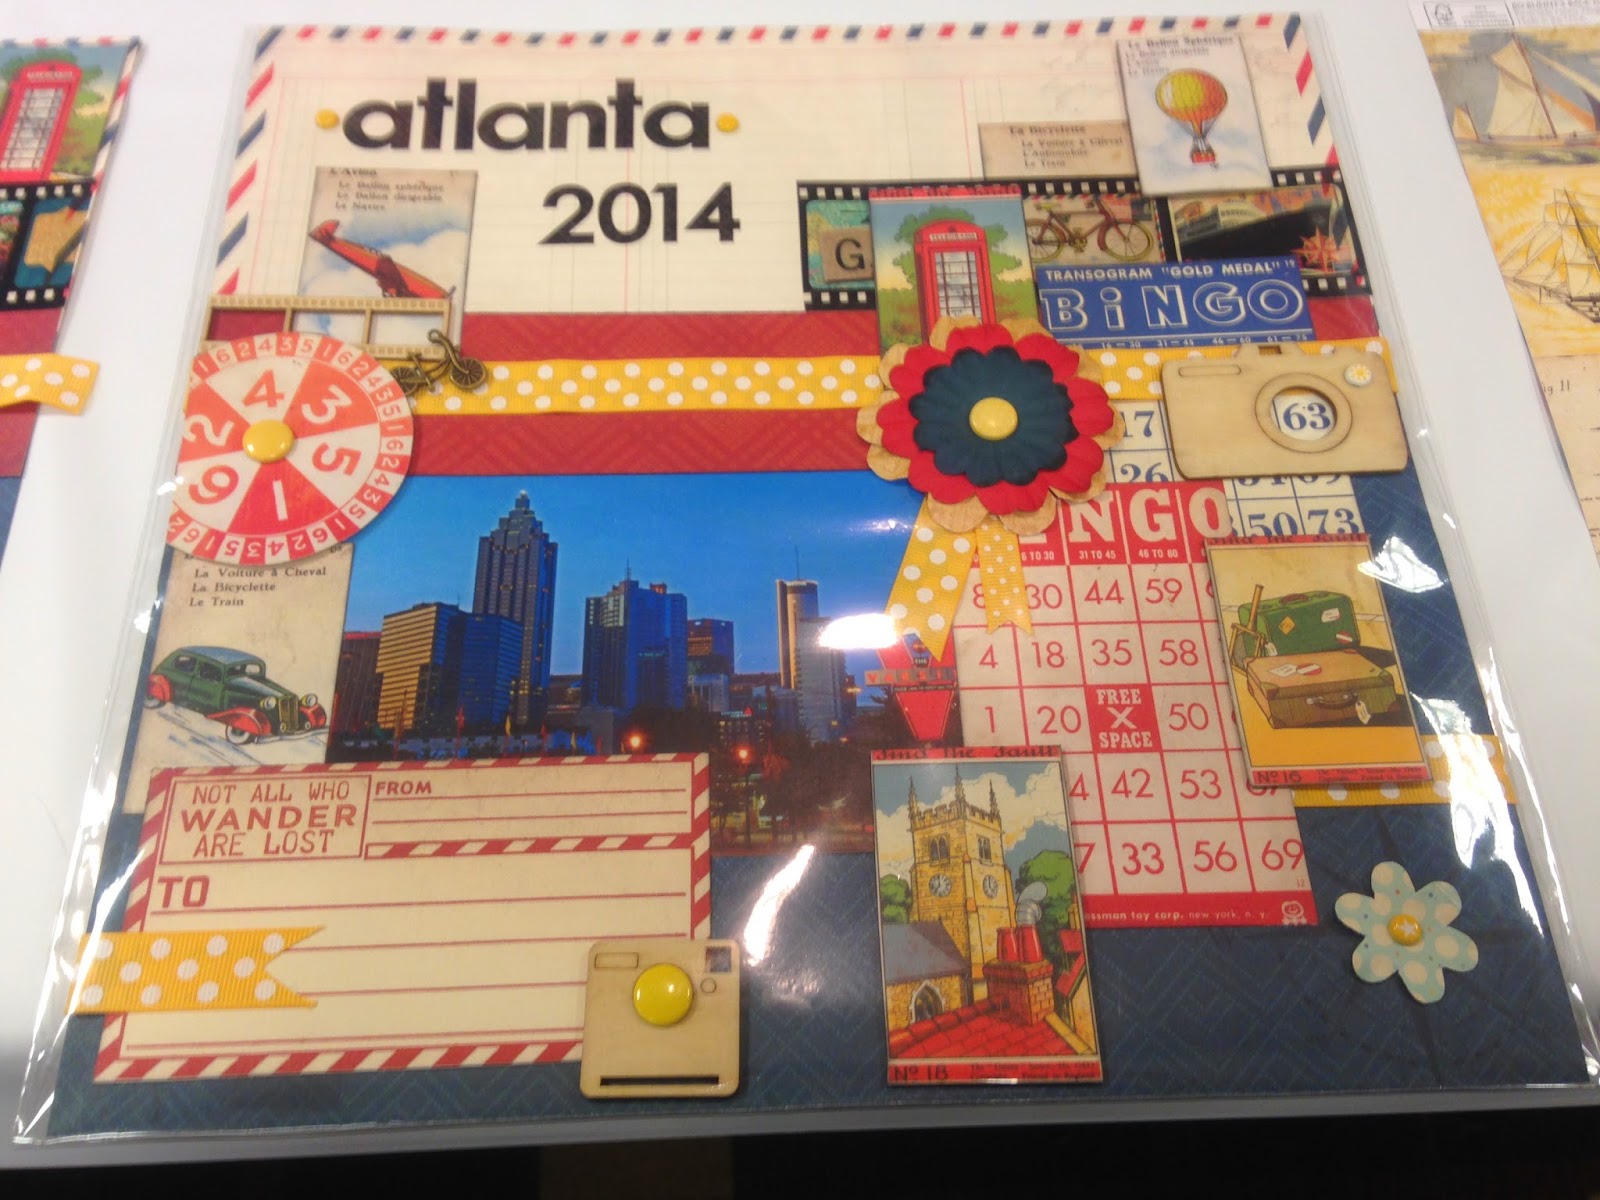
I created 3 two page layouts for this class. Apparently I only took pictures of one of the three sets!

Happy Valentines Day - Cards for 3 of my Nieces/nephew

I have a wide range of nieces and nephews and even some great nephews and nieces now. These cards seemed to be perfect for my the 6 to 10 year olds. What I love is that they actually fit in a standard card envelope.


Frozen Themed Box Card

When my friend Marielba's daughter Lianne turned 15 it was a big deal as they are from Puerto Rico. This box card was based of the Frozen theme she picked for her  Quineanera festivities.


Tiny Gift Box

I had something my hubby made that we wanted to give to my dear friend Erica. I made this box to put the gift in. It's probably 4"x4"x1.5". It was fun to work on!


Not Just Scrapbooks FB Group March Challenge

On my Facebook Creative Group, we usually have a challenge. This is the card I made for our March challenge. If you are interested in joining us, please feel free to contact me!


May Card Class

These are the cards we made in my May card class. We made two easel cards, two using the Heartfelt Creations using the Everyday Hero collection and one using the BoBunny Garden Journal collection.


Altered Box and Mini - Graphic 45 Secret Garden Collection

I took a wood box from Hobby Lobby and alered it using the G45 Secret Garden collection and a graphic of swallows I bought onE tsy from a shop called graphicals. The legs on the box are also from G45. The lace bow is from an antique shop in Waynesville, OH.  It was beige and I used my Spectrum Noir alcohol ink markers to color it. You can see more by watching my YouTube video. 


Well that's it for part 1. Stay tuned for part 2!

Monday, December 08, 2014

HUGE DESTASH GOES LIVE TODAY!

Our first big destash goes live today, December 8th at 1pm EST (New York time) on my zibbet store at:
http://zibbet.com/mccplg

The info on the destash has been posted on multiple sites on Facebook, so this is a first come, first served sale.

Here are specific links to the videos for each box:

Box 1 - Cooking $40 ($27.35USD+ shipping


Box 02 - Cooking  $45 ($32.35USD+ shipping) 


Box 03 - Cooking  $45 ($32.35USD+ shipping)


Box 04 - Boy/baby boy   $45 ($32.35USD+ shipping)


Box 05 - Boy/Baby boy  $45 ($32.35USD+ shipping


Box 06 - Girl/baby girl   $40 ($27.35USD+ shipping) 

Box 07 - Baby - Girl $35 ($22.35USD+ shipping) 


Box 08 - Love - Wedding   $30 ($17.35USD+ shipping)


Box 09 - Love - Wedding   $35 ($22.35USD + shipping) 

Box 10 - SOLD Travel   $49.00 ($36.35USD+ shipping) 


Box 11 - Halloween   $29.50 ($16.85USD+ shipping) 

Box 12 - Halloween    $37.50 ($24.85USD+ shipping) 


Box 13 - Birthday    $30 ($17.35USD+ shipping) 


Boxes 14 & 15 Thanksgiving    $35 ($22.35USD+ shipping) 


Box 16 - Thanksgiving    $37 ($24.35USD+ shipping) 


Box 17 - Christmas    $49.50 ($36.85USD + shipping) 


Box 18 - Christmas $49.50 ($ 36.85USD + shipping) 


Box 19 - Christmas   $49.50 (36.85USD + shipping)


Box 20 - Christmas    $49.50 ($36.85USD + shipping) 


Box 21 - Manly/Vintage  $35 ($22.35USD+ shipping) 


BOX 22 - Birthday - Celebrate  $30 ($17.35USD+ shipping) 


Boxes A, B & C- G45 Raining Cats & Dogs
$59.95 PLUS shipping each 


Box D - SOLD G45 Twas TNB Christmas
$49.50 PLUS shipping 


Box E - PRIMA   $45 ($32.35USD+ shipping) 


Box F - PRIMA   $40 ($27.35USD+ shipping) 


Box G - PRIMA  $35 ($22.35USD+ shipping) 

Box H - PRIMA + Marion Smith   $30 ($17.35USD+ shipping) 

Box I - (G45 + PRIMA Sea Themed  $49.95 PLUS shipping 


About Shipping etc...

To purchase this box, you will need watch for our announcement that we have gone live and go to my zibbet store:
https://www.zibbet.com/mccplg

If after 48 hours your item is not paid in full including any extra shipping fees, we will reluctantly relist the item.

****SHIPPING*****IMPORTANT INFO******

We filled Medium Priority Flat Rate Boxes. Most are full, so we cannot really combine shipping. If you buy three boxes, we will try to put it all into two and credit your Paypal account!

USA - $12.65 Please note: the prices quoted in our videos include shipping for most boxes, but not all! On Zibbet we had to put in the shipping cost separately from the product cost.

CANADA - If you are from Canada, we will send you a Paypal invoice for either $43.25 if shipping is not included in the box price OR for $29.60 to cover the "difference" in the shipping fees ($43.25-$12.65), and wait until this additional payment is confirmed before we ship your box out to you. After 48 hours, we will re-list!

ALL OTHER COUNTRIES - If you are from any other country than the US or Canada, we will send you a Paypal invoice for $61.75 if shipping IS NOT included in the box price OR  for $49.10 to cover the "difference" in the shipping fees ($61.75-$12.65), and wait till it is paid to ship out to you. and wait until this additional payment is confirmed before we ship your box out to you. After 48 hours, we will re-list!


Wednesday, August 13, 2014

Paper Arts Show, CHA Summer 2014 - Days 1 Part 1


OVERVIEW:
 For those of us whose love of paper crafting has led us to becoming retailers, and who can't get out to Anaheim California, this was an anticipated event. I won't say that this was a big show. Gone are the fancy booths, and we are back to the standard trade show black curtains with tables and wire panels and/or bookshelves.  It's in a hotel not a convention center and the ceilings are low, not soaring. There were fewer than 50 exhibitors (notably absent were DCWV, American Crafts, Ranger, Stampers Anonymous, and sadly, Marion Smith Designs, one of my biggest reasons for attending the show)! For the life of me, I can't seem to meet Marion or Garret no matter what, lol! Only 200 attendees had registered when the show opened on Tuesday and from the wholesalers point of view, that did not mean 200 customers as some retailers bring 2-3 people. Yet that doesn't mean in wasn't a good show! It was great for networking and getting to know people, you did not have to go crazy trying to place orders and it was much easier to navigate. Oh and there was the open market, where you literally could get some great bargains!

Day 1 - The Workshop Day

It turns out that only 200 people signed up to attend the show, which makes it terribly small, especially since sometimes up to 3 people are from the same store. But there are advantages to being at such a small show and the first day workshops are amongst the good things. Getting to talk to more people because you are bumping into them again and again is also an advantage and I got to meet some mighty fine people.

Now here are some pictures from Day 1:

Bo Bunny


Bo Bunny was my first workshop of the day at 8:00 am. It's also where I met Ivana, also known as CraftMuse. We were a very quiet class.  Then again, by definition, the projects in such classes are ambitious and very quick paced, and we all know going in that we don't have any chance of finishing them! Finishing comes later, maybe at night if you can keep your eyes open long enough.  But I digress!
 
We made the layout you see above as well as a cute envelope with an accordion album to slip inside the envelope.
 

My favorite new Bo Bunny products are the Glitter Paste, which comes in 3 colors for now, Gold, Bronze and Silver and their new stencils.


The stencils are made of a very thin, pliable pink plastic, that clings to your project, making it much easier to work with.  Right now they have released 4 sets. Each set comes on 12x12 size backing. So that border in the picture is 12 inches long. The Glitter Paste dries fairly quickly and the stencil is very easy to remove, wash and use again. Based on my experience in the workshop it is very easy to use multiple times, in one sitting, without having to clean it between each use.  That makes the Bo Bunny stencils a great choice if you are creating invitations or a series of cards. Of all their currently released ones, I loved the doilies!

I also visit our instructors, Liz Welch & Vicki Bentley in their booth! Can you see we had fun?


We made this cute tag in the Bo Bunny booth!
 

Well there is so much more to say even about the first day, but this post is way long!
 
More soon,
Be happy and crafty!
M-C


Monday, April 28, 2014

Graphic 45 Carousel

I worked on this for a long time.  First, let me just say that this is the third project in my JoAnn's wood gazebo series. The first was the Secret Garden Gazebo and the second was the Bohemian Bazar Tiki Hut.
There is one more to come.

The carousel is by far my biggest ever project. It measures a bit over 18 inches high, by 13 inches wide. It breaks down into two main pieces. The carousel itself and the big hat box.

You already know that it all started with the wood gazebo that holds the roof up.  The gazebo sits on a hexagon shaped box that I've altered. The box sits on a 12" wood plate that I got at Hobby Lobby. The 3D horses and the bench are attached to a lazy Susan that is screwed into the wood plate. That whole structure sits on a big round box that I altered to match. I'm not sure what made me think of a Merry-go-round, but there it was twirling in my head and needing to be created! To get a real sense of how it all works, you might want to watch the video imbedded towards the end of this post.

Finding the 3D wood carousel horses took weeks and weeks of looking on the web. I eventually found not one, but to sets of vintage, unpainted Christmas ornaments that fit the scale. I'd looked at so many carousel's by then, that I was able to sit down one day and just paint each horse out. I'm pretty happy with how they turned out, given that they are a combination of the designs in my head! Those 3D horses were just the beginning of the process. I needed more animals, so I started looking again.


After many hours, or is that weeks of research, I found an Etsy shop called Nana's Little Nest. Cindy creates laser cut wood pieces and thrives on customized projects. After first buying a few pieces of her horse, I emailed her again about different sizes and different animals.  We collaborated on 3 different sizes including the ones you see here and while she will still make the various carousel/Christmas ornament animals, they will be sold exclusively from my online store.
Painting, papering and decorating the whole structure took quite a while. In the end, the hexagonal box can be opened to save items like the baby's hospital bracelet, lock of hair, etc. I envision the big box to hold a birth announcement, invites, small treasures, as well as cards he or she receives. Here are a few more pictures.


I think you can see from this last picture that I used two of the wood elephants to make the bench.  I'd like to share the video I made, so that you can see how the carousel moves!


Hope you enjoyed this project,
I wish you a wonderfully happy crafty day,
M-C

Tuesday, April 22, 2014

Graphic 45 Altered Frame

I wanted to make something a bit different, with items easy to get at Michaels, JoAnn's and Hobby Lobby.

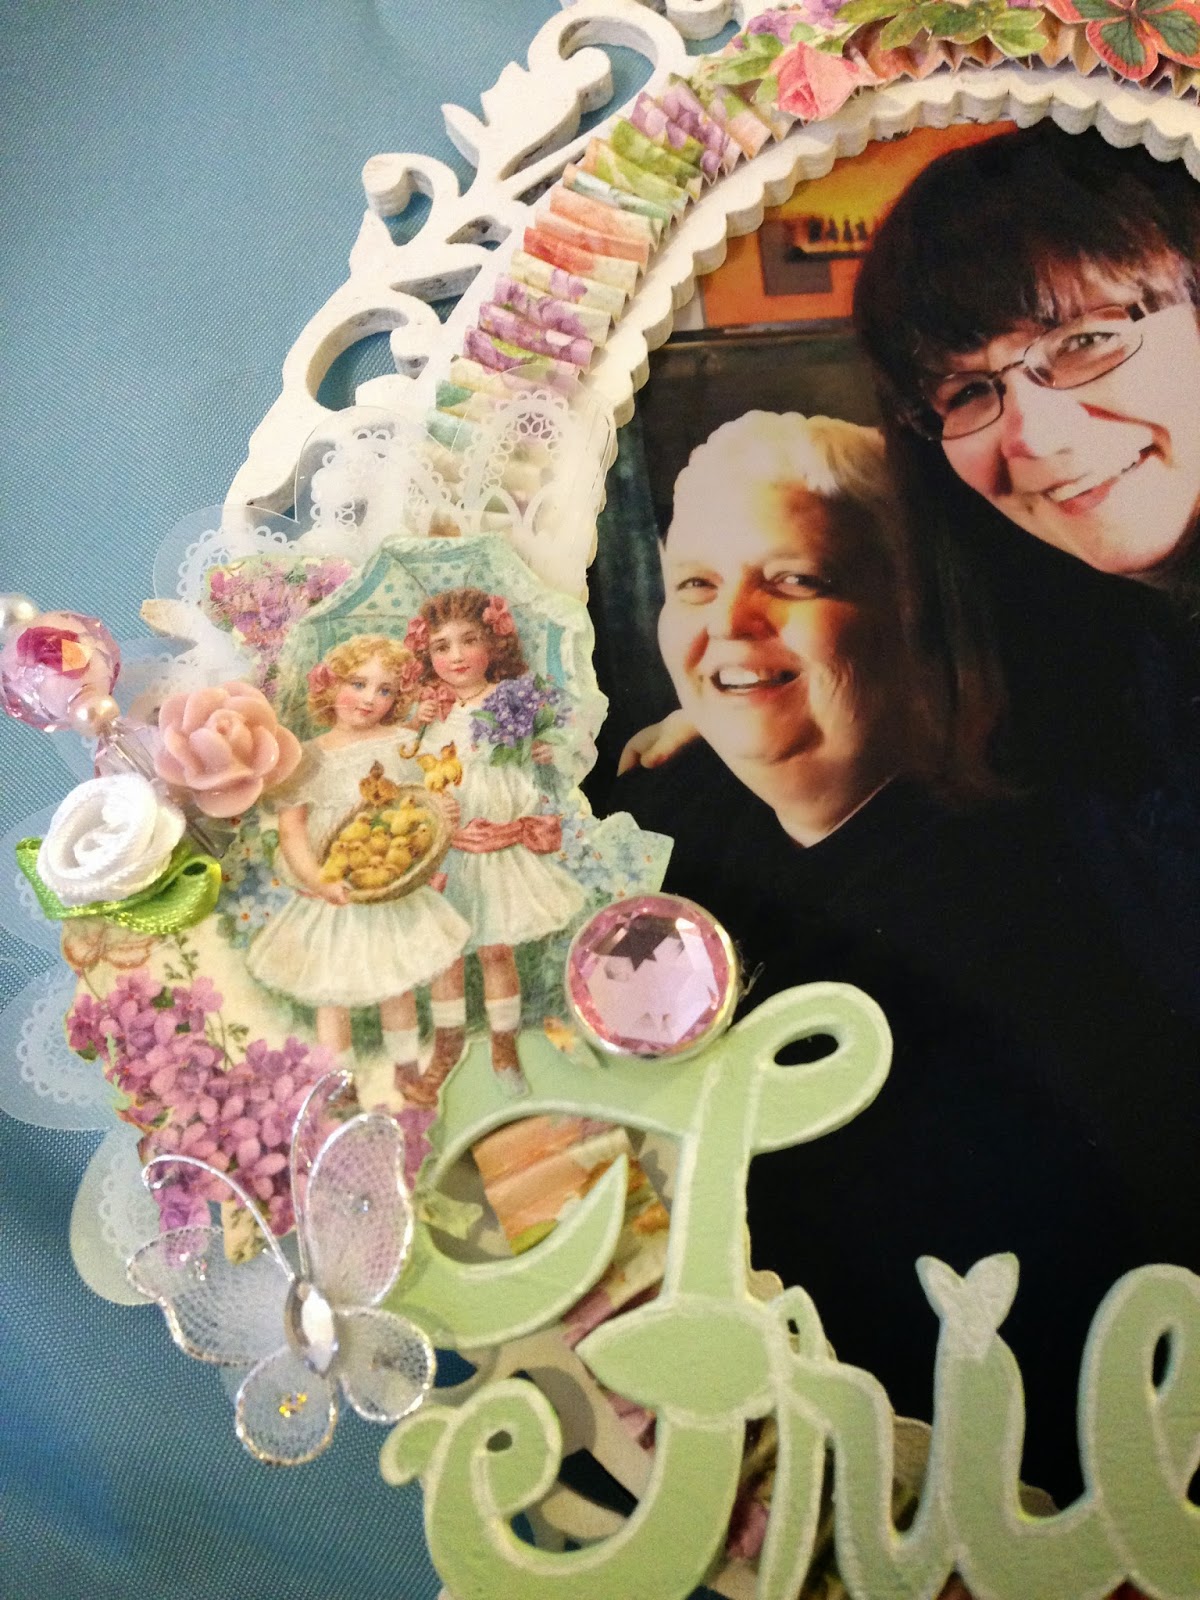
I bought the wooden frame and the wooden Friend's sign at Michael's and then gesso'd both.  I painted the frame white and the Friends sign a light green.  Then I took a white paint marker and added detail to sign to make sure that the Friends stood out.

I used the Sweet Sentiment collection from Graphic 45 to decorate the frame.  My biggest challenge was how to create an oval that conformed to the frame using the paper. 

After three attempts at a flat ring of paper, it occurred to me that it might work far better to score the paper and then score it and fold it at 1/8". 


A lot of work, but don't you think it came out just right?


I also fussy cut the two girls and the roses to use as the main decorations. I used part of an acrylic doily, I believe they were Cosmo Cricket (but don't quote me on that) to support the embellishments on the left of the frame.


I added a stick pin I'd made, some fabric and acrylic flowers.


That's my lovely, sweet friend Charlene with me. Hope you enjoyed! This really is a fairly inexpensive present and with pictures of you and your kids, it would be a great mother's day present!

Here is the video! 


 Have a happy crafty day, and see you soon!  I do have more to show you! :)
M-C